Using Microsoft Quick Assist
There are many remote access solutions out on the internet today, and some of them are fantastic tools especially in the business workspace. TeamViewer, Splashtop, AnyDesk, RustDesk, Screenconnect, and Dwservice.net to name a few. This list goes on and on. But what if your usage need isn't business related? and what if funds are short, or maybe you don't have time to setup one of the OpenSource offerings, or MAYBE, just maybe you just don't want to shell out $30-60 a year for a piece of software for remote access to dear-ole-meema's computer!
Never Fear, Microsoft has got your back. Microsoft Quick Assist to the rescue!
This is a very simple article about how to use Quick Assist.
What is it?
Quick Assist is a Microsoft Windows feature that allows a user to view or control a remote Windows computer over a network or the Internet to resolve issues without directly touching the system. It is based on the Remote Desktop Protocol (RDP). Quick Assist is installed by default on Windows clients.
Helpers and users agree to assistance by sending/accepting assistance invitations from helpers. Quick Assist requests a code in order to match users to a session. This will allow the giver to access the computer of the receiver in Administrator mode while allowing the receiver to see the choices the giver made.
How do I use it then?
Simple! and I'm glad you asked. The following is a quick overview of starting, connecting and using Quick Assist.
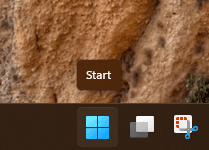
Left click on the start button
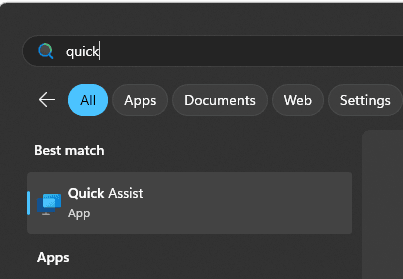
With the start menu open, type "quick" in the search field, quick assist should show up as an App
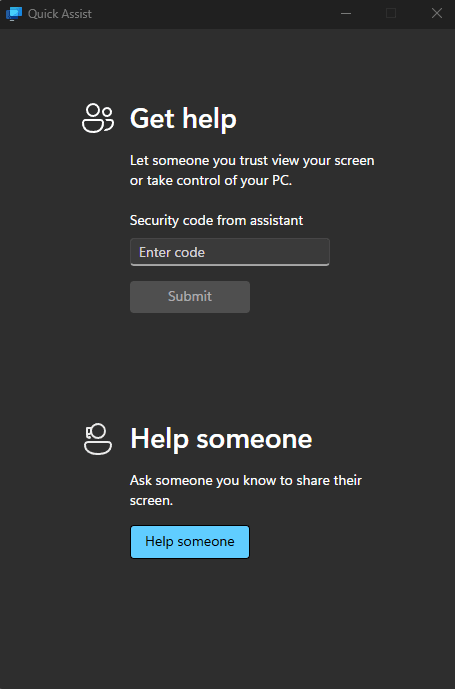
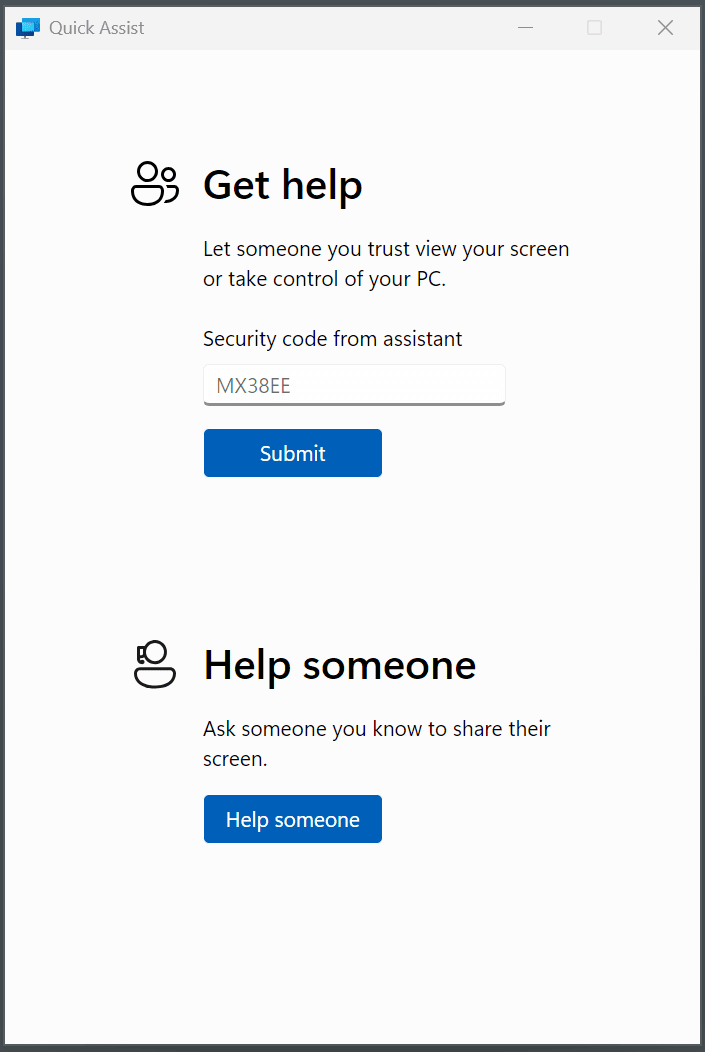
The main window for Quick Assist will open. You are presented 2 options. 1 to receive help, and the other to give it.
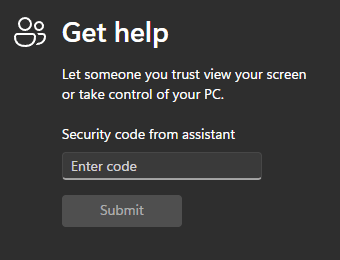
The top part of the screen is for those who are "needing" help.
The bottom part is for those that are "giving" help.
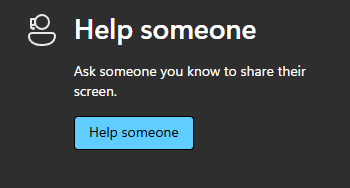
The Helper clicks the button "Help someone" and will be presented with a time sensitive code, that they then exchange with the receiver of the help whom will enter the code in the top box.

The receiver of help will input that code into their quick assist field
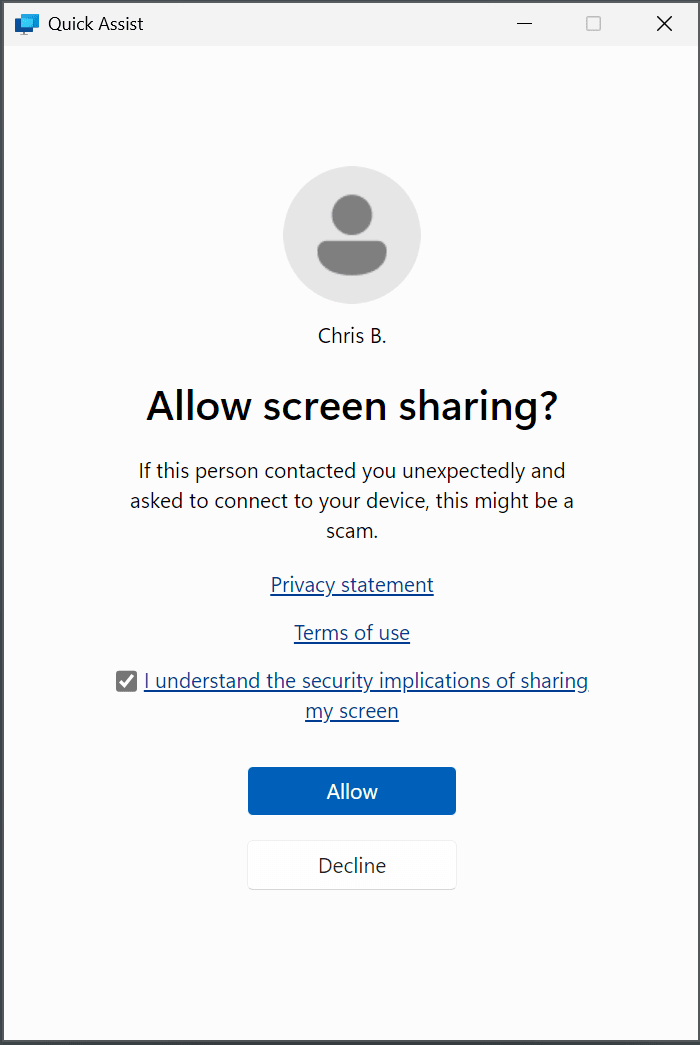
After the code is entered and "Submit" is selected the two systems will begin connecting. The person requesting help, will need to allow screensharing by checking the below checkbox and then selecting allow.
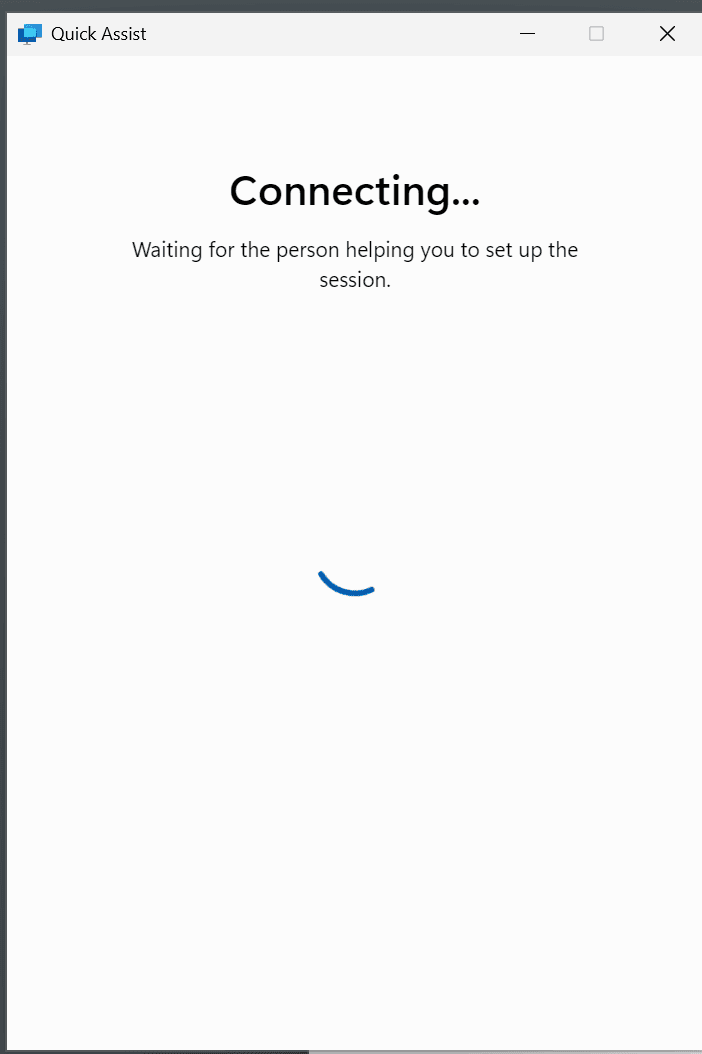
The two systems will connect
After the two systems are connected the helper will see a screen similar to this
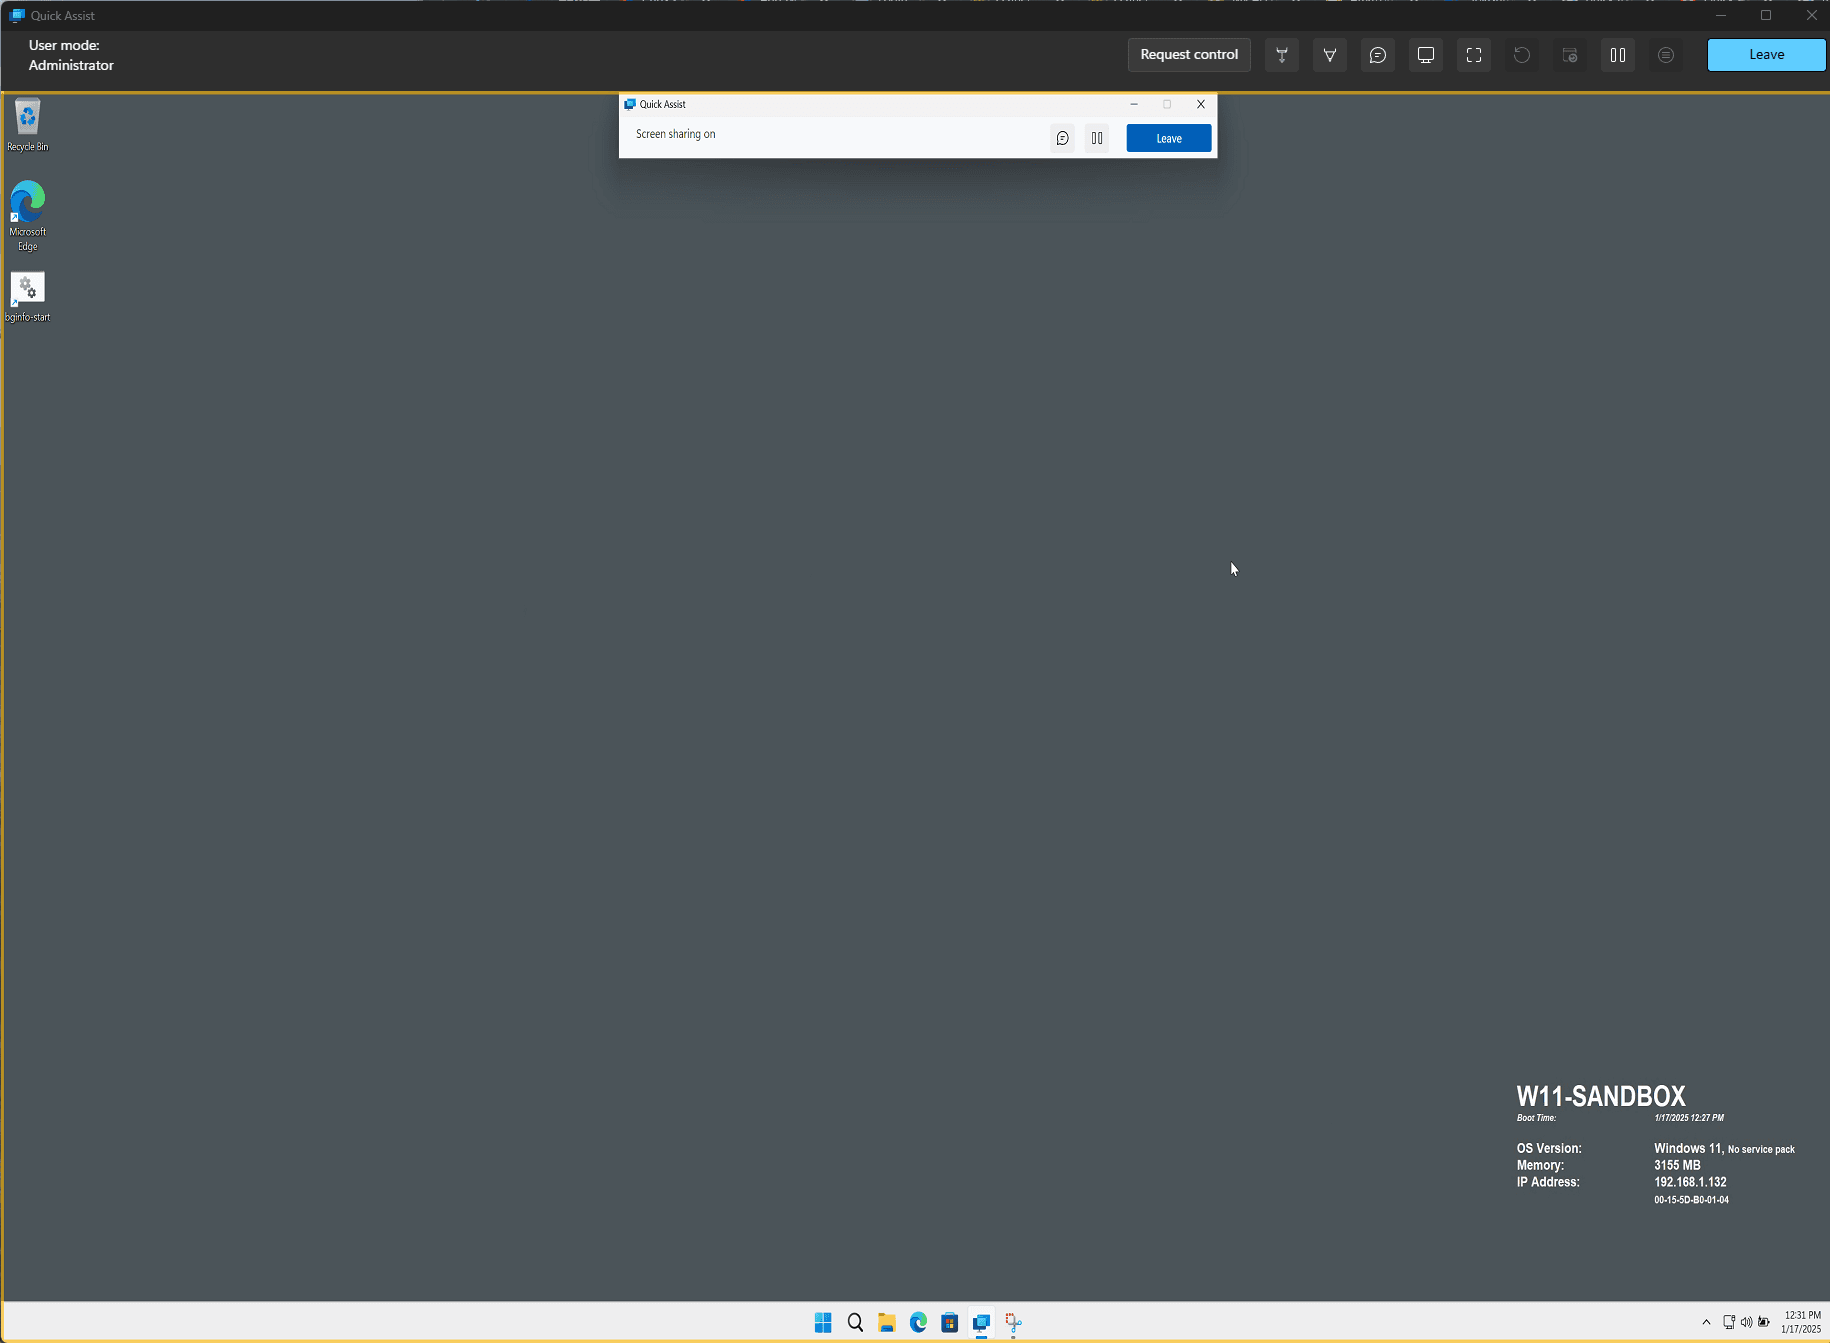
The helper can request control of the other computer by selecting the button in the admin bar

The receiver of help will see the following at the top of the screen and will need to allow the control request.

The receiver of help can cancel access, or disconnect at any time by selecting any of the options in their respective bar

And that's a quick overview of using Microsoft Quick Assist!
0 Comments
Leave a Comment